Tailor your Email Templates with Tokens and Custom Tokens
When editing and customising your email templates we've a system using 'Tokens' that allows you to draw information from your account automatically.
For example, you might want to introduce the start of an email with “Dear Mr Smith”, here the tokens would look like “Dear #title# #last_name#”.
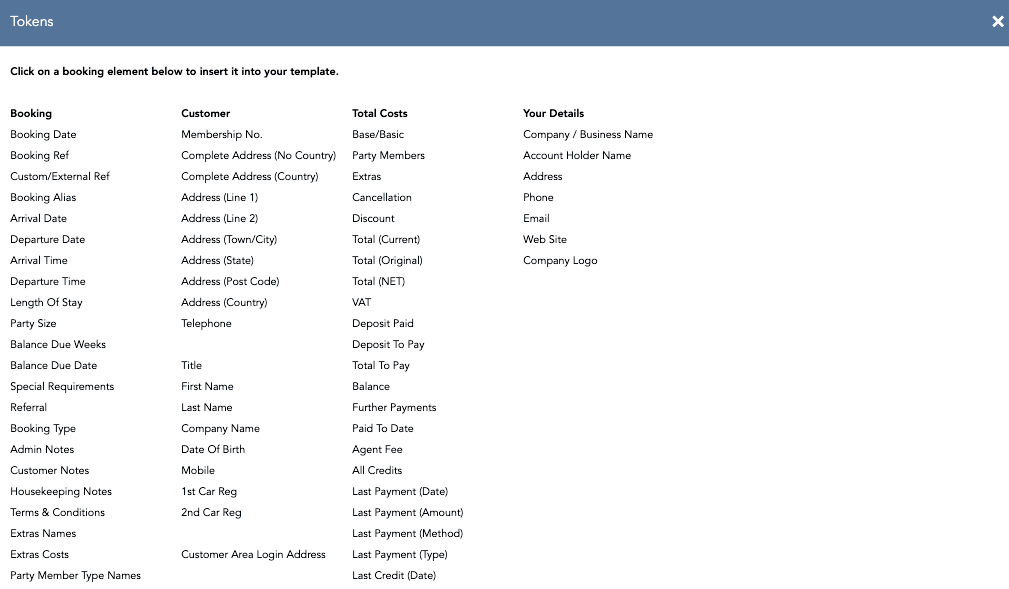
There are a variety to choose from which will relate to the booking information. On the tokens page they're grouped in sections by Booking, Customer, Total Costs, Your Details & Category/Unit.
To start adding them to your email template click on the page where you would like the token to go, then click on the green ‘Tokens’ button above the editor and select which token you’d like to insert into the email template. Now that information will be visible to your guest when they receive their email.

Note: When you are editing any email template, always remember to click ‘Save’ at the bottom of the page
The tokens pop up box:
To find out more about each individual token please click here.
Custom Tokens Configuration >Documentation > Custom Tokens
A custom token is a way for you to show certain information in an email to certain types of bookings. If you have bookings through an agent and set up a 'special agent reference number' you're able to create a custom token to show information specifically for that agency booking.
You will be asked to choose which Category and Unit you want the token to apply to.
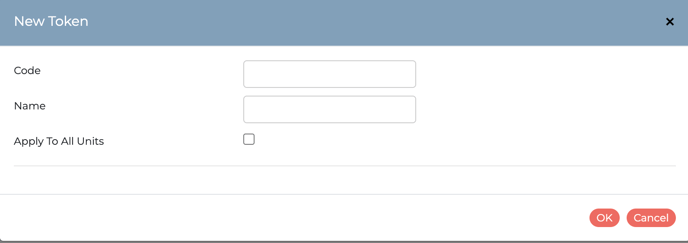
Click on the New Token button and a pop up will appear. Fill in the fields on the pop up.

The Code is what the token shows when it is in the template email, eg. #custom_token#
Note: you do not need to input the #
The Name is how the token will appear in the menu.
You can also check the Apply to all Units box if you want the token to be used for all different types of unit.
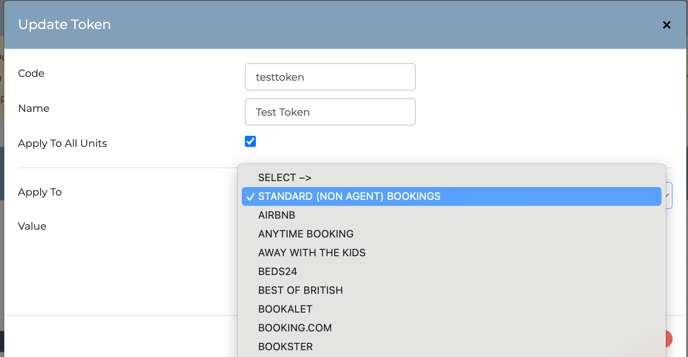
Once you have clicked OK your new token will appear in a grey tab. Double-click on the new token. This open up more options for you to choose where the token applies. Under Value type the information that you want the token to display.


